Feed Worms, Grow Soil: A Friendly Guide to Vermicomposting

Welcome! Today we’re exploring Vermicomposting 101: Turning Food Waste into Garden-Ready Castings, a practical, low-odor way to transform peels, coffee grounds, and paper into living, nutrient-rich soil amendments with the help of tireless red wigglers. Whether you’re in an apartment or tending raised beds, you’ll learn simple setups, feeding routines, troubleshooting tricks, and inspiring garden uses, plus real stories from messy beginnings to thriving bins that quietly save money, reduce trash, and grow healthier plants.

Meet the Red Wigglers

Before any bin is built, it helps to understand the tiny livestock doing the heavy lifting. Red wigglers (Eisenia fetida) thrive in shallow, moist bedding, devour small scraps rapidly, and reproduce reliably, turning your leftovers into biologically active castings that fortify seedlings, container gardens, and tired beds without smells when conditions stay balanced.

Choosing the right species

Most home systems succeed with Eisenia fetida or Eisenia andrei, both surface-dwelling specialists that tolerate crowding and frequent feeding. Avoid nightcrawlers, which prefer deep soil and may escape. Start with a pound for small bins, then let populations expand naturally as food and space increase.

Life cycle and appetite

Egg capsules hatch into tiny worms within weeks, maturing in two to three months under comfortable conditions. Adults steadily process half their body weight in scraps daily when balanced moisture, aeration, and bedding are present, making patient consistency more valuable than occasional heavy feedings.

Population balance in small spaces

Worms self-regulate according to food, airflow, and bedding depth, so overcrowding gradually stabilizes without drastic intervention. If castings accumulate faster than you garden, harvest more often, split the colony, or gift a starter scoop to neighbors ready to reduce kitchen waste together.

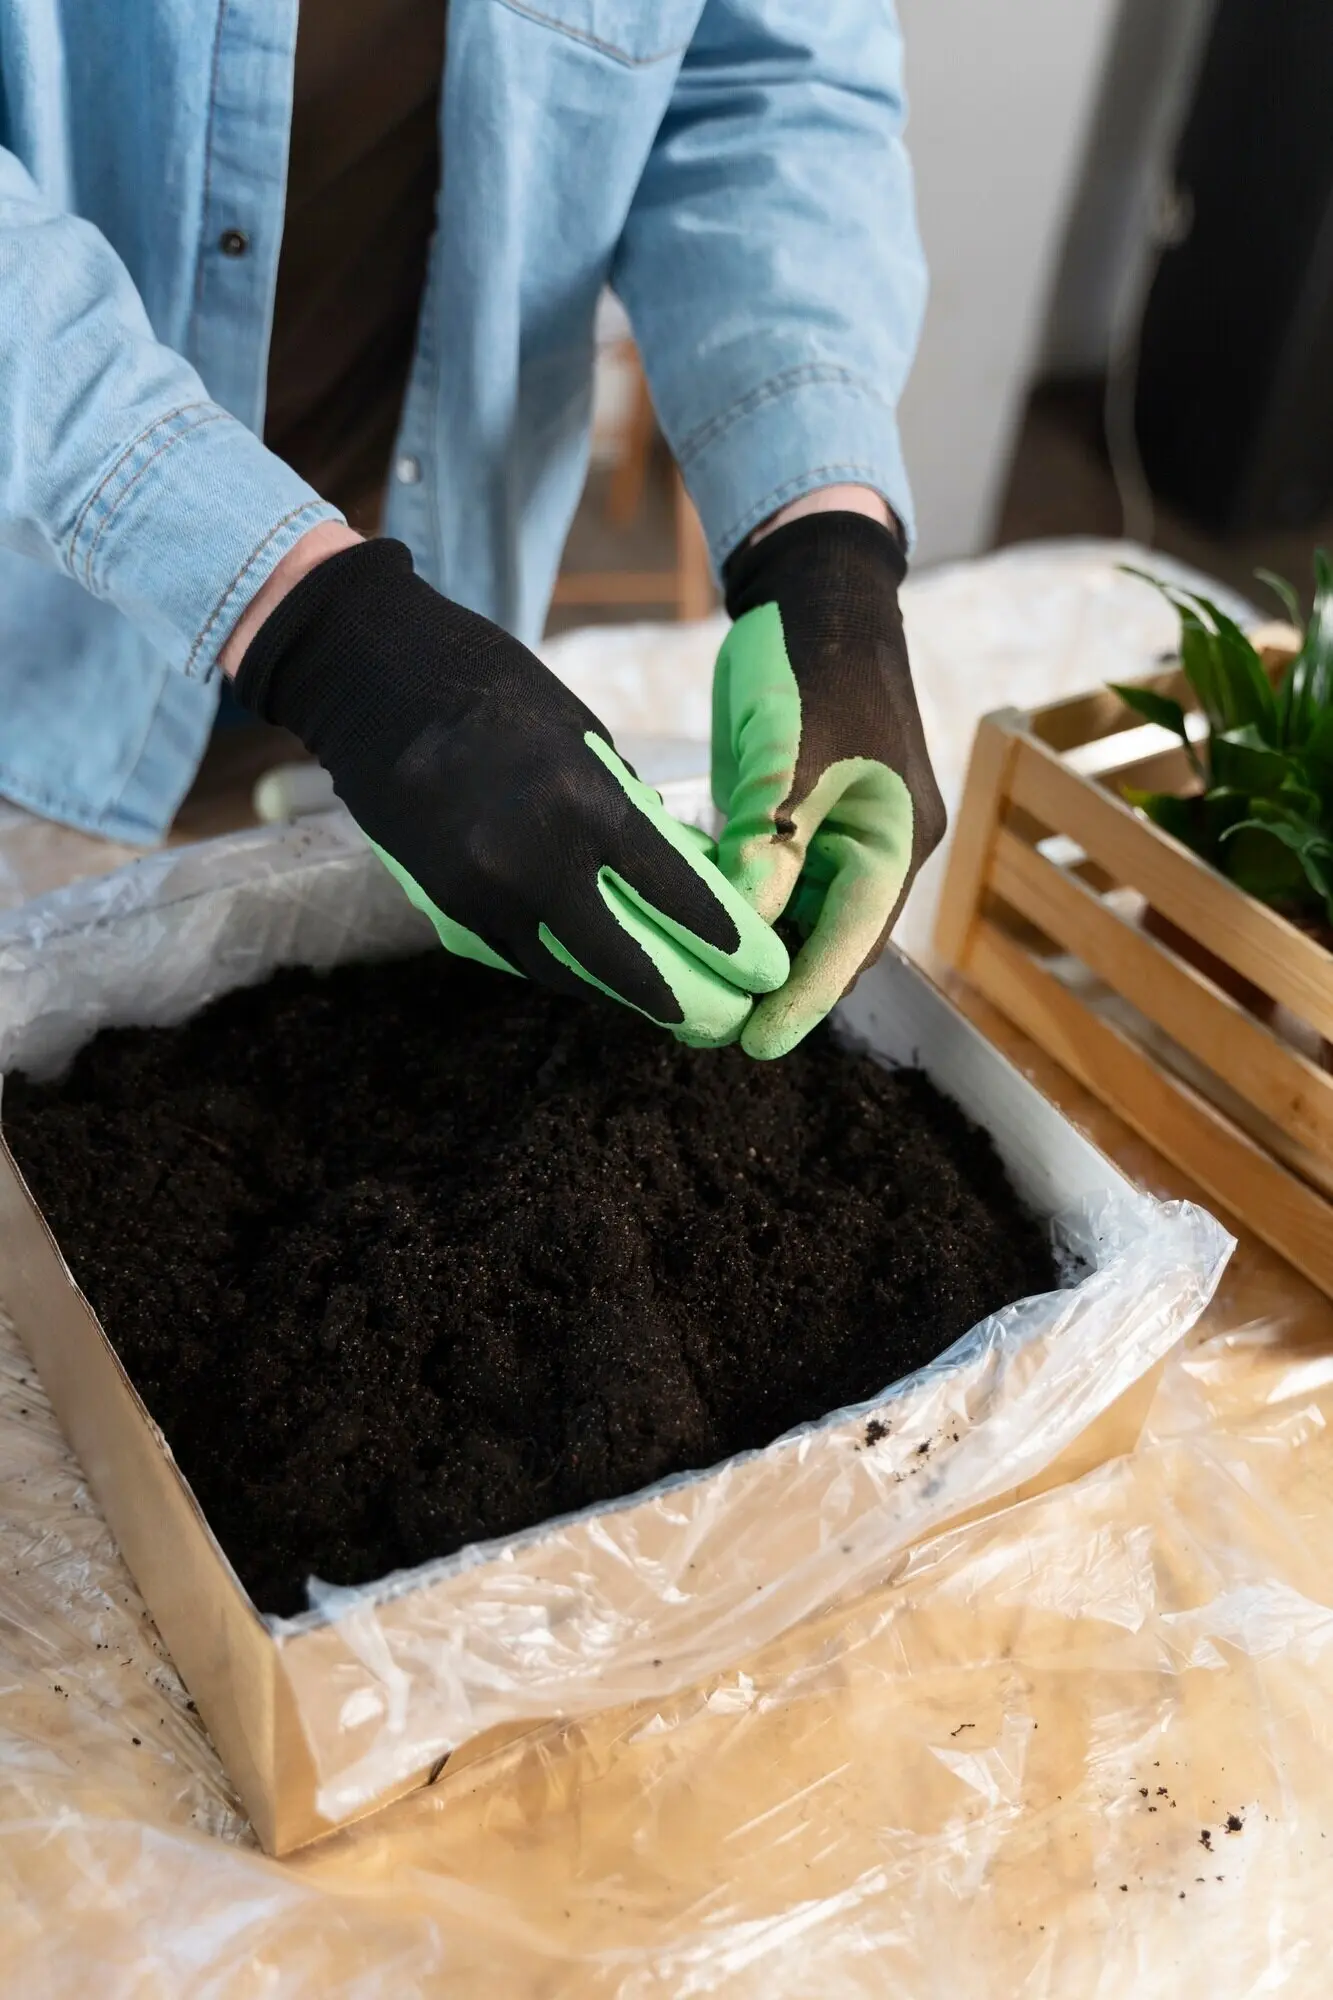
Setting Up Your Worm Bin

A simple, breathable container with drainage, cushy bedding, and a gentle airflow is all you need. Plastic totes, wooden boxes, or purpose-built bins work well when holes are drilled correctly and a tray or mat protects floors. We’ll cover sizes, layering strategies, and ways to keep noses curious but unoffended in apartments or garages.

Container choices and airflow

Choose opaque walls to keep worms comfortable, then add ventilation along the top perimeter and a few drainage holes below. A breathable lid discourages fruit flies. Elevate the bin on blocks, use a catch tray, and avoid standing liquid to maintain fluffy, oxygen-rich bedding.

Bedding that feels like home

Moisten shredded cardboard, paper, coco coir, or aged leaves until they feel like a wrung-out sponge, then mix in a handful of finished compost for microbes. Fluff regularly so tunnels stay open, giving scraps contact with decomposers without creating compacted, sour pockets.

Where to place the bin

Keep the bin somewhere you’ll actually visit: a kitchen corner, balcony shade, pantry, or basement near a sink. Stable temperatures and convenient access encourage frequent, small feedings, faster breakdown, and fewer surprises. A simple welcome mat captures crumbs during cheerful maintenance sessions.

Feeding Without Fuss

The right inputs make everything effortless. Offer small pieces of fruit and vegetable scraps, coffee grounds, tea leaves, and limited grains beneath a light bedding cover. Skip meat, dairy, oily foods, and large citrus loads. Gentle variety, modest amounts, and patience create beautifully textured castings with minimal smell.

Keeping Conditions Right

Healthy bins smell like forest soil and feel springy. Moisture should match a wrung-out sponge, temperatures should stay comfortable for humans, and bedding should resist compaction. With simple tests and tiny tweaks, you’ll guide conditions back to balance before problems become smelly or discouraging.

Moisture checks made easy

Grab a handful of bedding and squeeze. One or two drops indicate perfect hydration; a stream means it is too wet; dustiness means it is too dry. Add shredded paper to absorb wetness, or mist gently to refresh thirsty layers without flooding tunnels.

Temperature and airflow

Aim for roughly sixty to seventy-five degrees Fahrenheit, with occasional swings tolerated if changes are gradual. Lift the lid briefly to oxygenate, fluff compacted corners, and avoid sealing vents. In heat waves, freeze scraps and feed sparingly; in winter, insulate sides and reduce water.

pH, grit, and calm microbes

Acidic surges can follow heavy citrus or coffee habits. Mix in crushed eggshells or agricultural lime lightly through bedding to buffer. Gentle variety in food and regular bedding refreshes nurture stable microbial communities, reducing worm stress, softening odors, and improving casting texture noticeably.

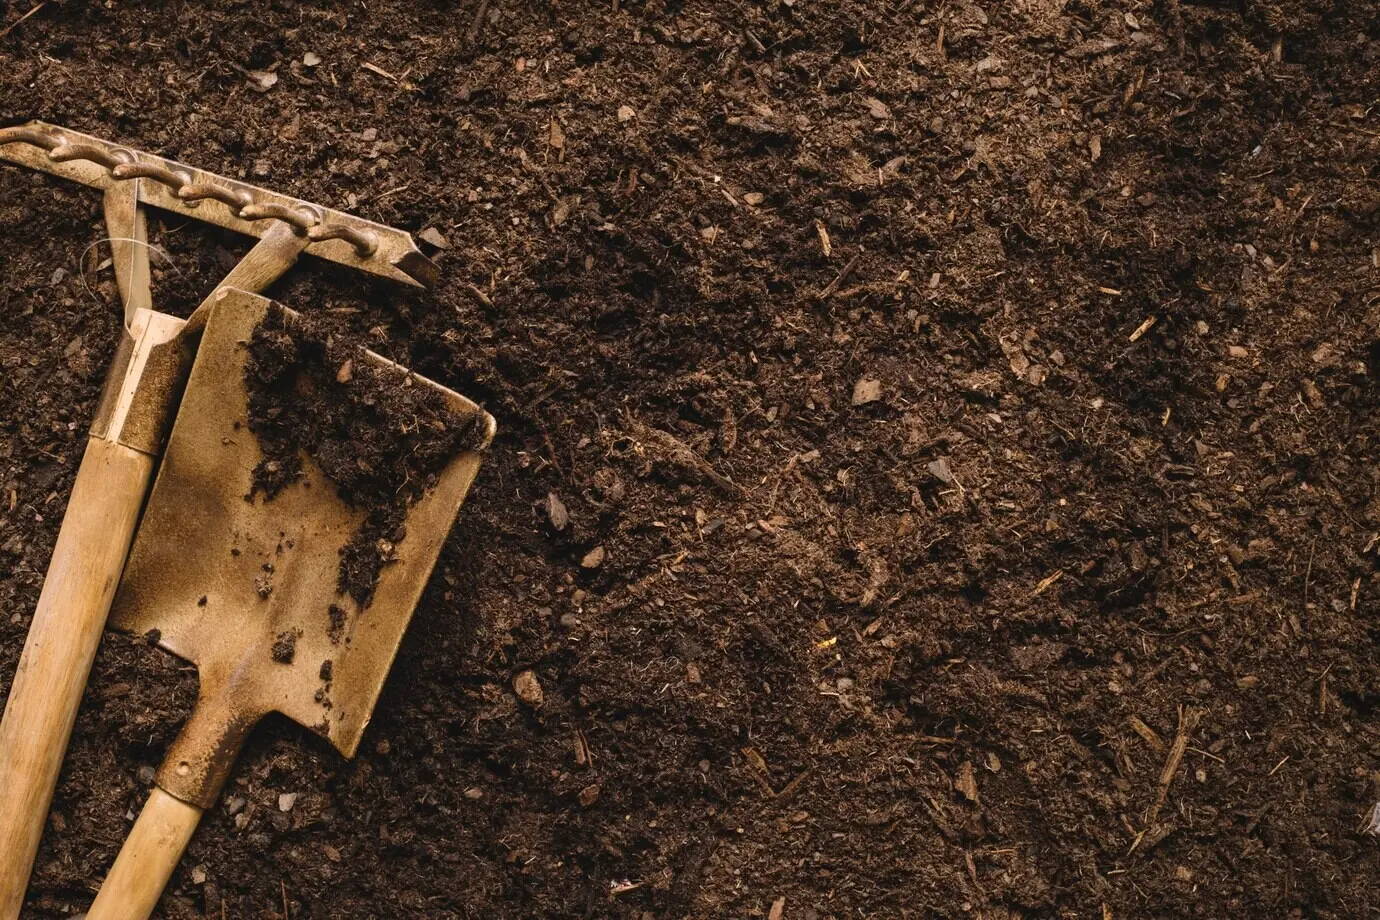
Harvesting Black Gold

When bedding darkens, smells earthy, and crumbly texture replaces recognizable scraps, you’re ready to harvest. There are easy, worm-safe methods that separate castings without drama. Use patience, light, and migration to gather rich material while preserving a healthy, hungry colony for the next cycle.

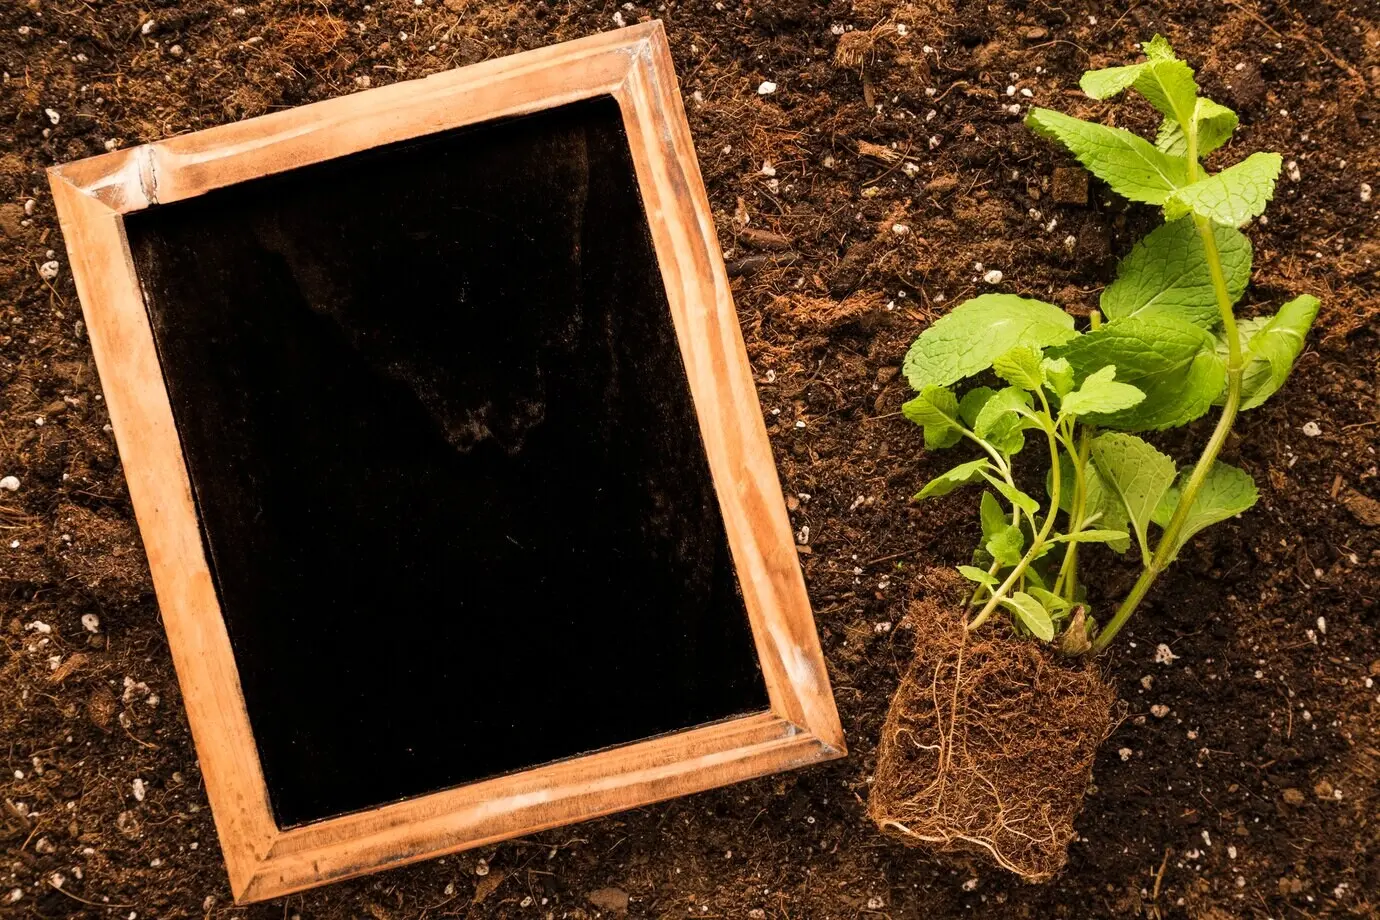
Putting Castings to Work

Your garden, houseplants, and seedlings all respond enthusiastically to this living amendment. Mix small amounts into potting blends, top-dress containers, or brew a gentle tea. Expect improved structure, moisture retention, and nutrient availability as beneficial microbes colonize roots and calm the need for constant bottled inputs.
Blend ten to twenty percent castings into sterile media for sturdy seedlings that resist damping-off. The biology helps unlock trace nutrition without burning delicate roots. Add perlite for drainage, moisten thoroughly, and share progress photos with fellow growers to compare germination and leaf color week by week.
Sprinkle a thin layer around plants, then cover with mulch to keep microbes moist and protected. Water gently to wake biology. You’ll notice deeper greens, sturdier stems, and calmer watering schedules. Invite readers to post before-and-after images and favorite plant transformations in the comments.
Combine castings with chlorine-free water, a small air pump, and a little unsulfured molasses for twenty-four hours to multiply beneficial microbes. Use within a day, drench soil or spray leaves, and encourage subscribers to share recipes, ratios, and success stories from balconies to community plots.
Puvulovurokelepola
Privacy Overview

This website uses cookies so that we can provide you with the best user experience possible. Cookie information is stored in your browser and performs functions such as recognising you when you return to our website and helping our team to understand which sections of the website you find most interesting and useful.