Grow More, Waste Less: Zero-Waste Kitchen Scrap Gardens That Thrive

Discover the joyful practicality of Zero-Waste Kitchen Scrap Gardens, where scallion stumps, celery bases, and herb cuttings spring back to life. We will show simple setups, science-backed tips, and real stories that reduce trash, stretch budgets, and put fresher flavors on your plate every week. Along the way, you will learn to switch from tossing peels to nurturing sprouts, create tiny cycles of renewal on a windowsill, and inspire friends to try a leafy experiment that saves resources without sacrificing taste, time, or fun.

The Mindset for a Waste-Savvy Kitchen Garden

Start by seeing scraps as miniature reservoirs of energy rather than leftovers. A trimmed onion bulb, romaine base, or ginger nub still holds cells ready to grow, and your role is simply to give them water, light, and patience. This shift turns routine cooking into an ongoing harvest, lowers landfill contributions, and builds confidence through visible, fast wins you can share with family and neighbors.

Simple Setups: Counters, Windowsills, and Balconies

You do not need a backyard to succeed. A bright sill, a stable counter, or a narrow railing shelf creates a dependable station for jars, trays, and small pots. Prioritize spill-proof containers, easy water access, and a routine for refreshing liquid. With three to five vessels in rotation, you will harvest weekly while keeping the space tidy, attractive, and compatible with everyday cooking.

Jar and Tray Station

Use clear jars to watch roots develop and to time water changes. Keep water just below cut surfaces to prevent rot, using toothpicks or a mesh lid to suspend pieces. For tray setups, add pebbles for stability and humidity, label start dates, and group by light needs so maintenance becomes quick, almost meditative.

Light That Plants Understand

Most leafy regrowth appreciates bright indirect light, roughly equal to a north or east window. If shadows look fuzzy at noon, add a small LED grow bar on a timer. Keep bulbs eight to twelve inches above foliage, extend days in winter, and rotate jars weekly to avoid leaning, ensuring compact growth with deeper color and stronger flavor.

Cleanliness and Safety

Rinse scraps before setting them up, especially items that touched soil. Change water every two days to limit bacteria, and remove any slimy layers. Keep propagation away from raw meat prep, sanitize tools between projects, and compost questionable pieces rather than risking odors or foodborne illness, so your counter stays inviting and genuinely nourishing.

Regrow Champions You Can Start Tonight

Choose fast performers that reward attention within days, building confidence and momentum. Several kitchen staples respond beautifully to water starts and gentle light, giving you greens for garnishes and cooking almost immediately. Begin with hardy, forgiving candidates, learn their signals, then branch into herbs and roots that prefer soil, creating a reliable rotation that keeps plates vibrant and routines simple.

Green Onions and Garlic Greens

Trim roots to remove ragged ends, stand the bases upright, and keep the water line below the cut. New shoots push up quickly, often visible by the second morning. Snip above the white section to harvest repeatedly, refresh water often, and enjoy peppery, sweet notes that brighten eggs, noodles, soups, and buttery toast.

Celery and Romaine Hearts

Cut the base cleanly, nestle it in shallow water, and expect pale leaves to emerge from the center within a week. Once roots appear, move to soil for sturdier growth. Harvest outer leaves regularly to keep the plant vigorous, and savor crisp flavor that stretches meal plans without another hurried grocery trip.

Herbs From Cuttings

Take four-inch tips from basil, mint, or oregano just below a node, strip lower leaves, and rest stems in water. Change frequently, and roots will lace the glass within days. Transplant to a small pot, pinch often, and welcome fuller plants that perfume sauces, salads, and lemonade with aromatic intensity beyond supermarket bundles.

Hydration, Nutrition, and Growth Rhythm

Healthy regrowth is surprisingly rhythmic. Stems surge after water changes, pause during cloudy spells, and respond dramatically to gentle feeding. By watching color and posture, you can time transplants and harvests with confidence. A modest routine of clean water, occasional nutrients, and right-sized containers prevents stress, reduces bitterness, and turns your counter into a dependable micro farm.

Water Changes and Oxygen

Stagnant water suffocates roots and invites microbes. Change it every forty-eight hours, swirl to oxygenate, and rinse containers. Keep pieces slightly elevated so only roots touch water, and ensure moderate room temperatures. These small habits maintain crisp textures, resist rot, and encourage faster, sturdier growth without expensive gear or complicated schedules.

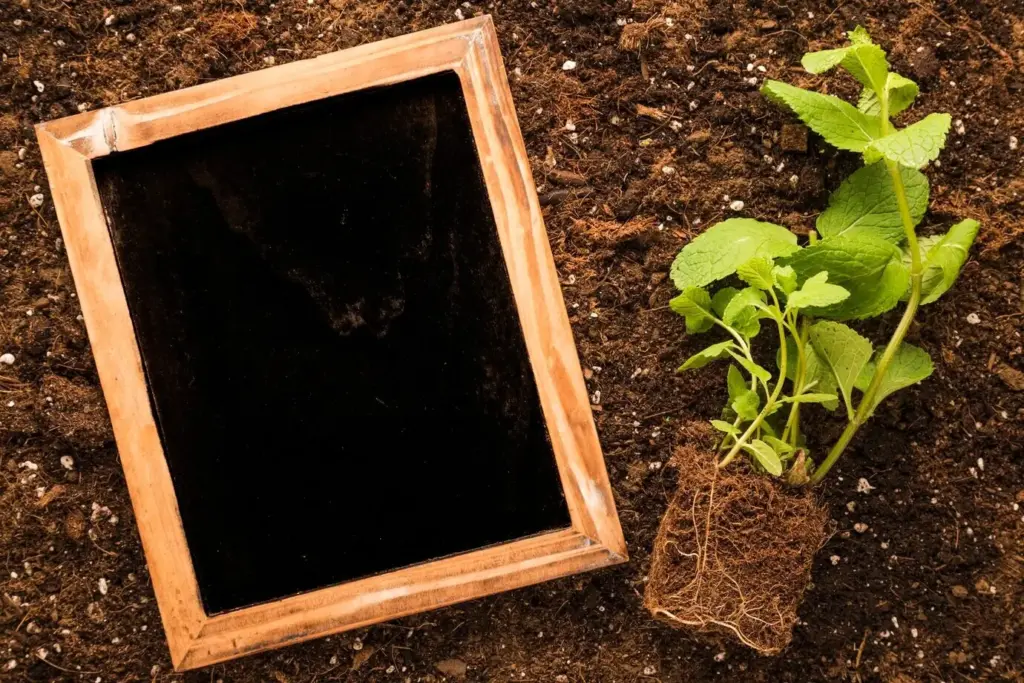
From Water to Potting Mix

Some plants plateau in jars. When roots become crowded or leaves thin, shift to a breathable potting mix with drainage. Transplant gently, keep soil evenly moist for a week, then reduce watering to encourage resilience. This move deepens flavor, steadies growth, and helps herbs withstand brief neglect during busy days.

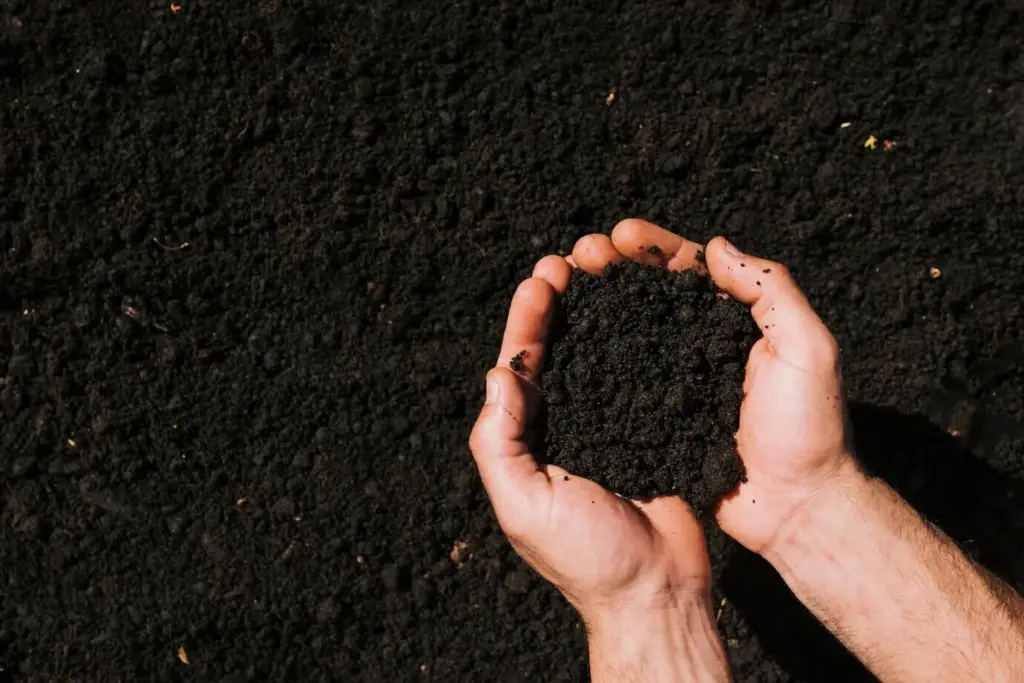
Homemade Feeds and Teas

Use diluted compost extract or a gentle liquid seaweed feed at low strength to avoid scorching tender tissue. Apply after water changes, wipe any splashes, and watch for richer color within a few days. Skip sugary concoctions, keep measurements modest, and prioritize cleanliness to protect both plants and your kitchen surfaces.

Troubleshooting With Calm Hands

Every growing station hits snags. Rot happens, leaves stretch toward weak light, and gnats wander in from potting soil. By diagnosing causes rather than reacting in frustration, you restore balance quickly and safely. Gentle sanitation, airflow, and basic integrated pest management keep regrowth reliable, edible, and stress-free for households with pets, kids, and busy routines.

Rot, Mold, and Funky Smells

Most sliminess traces back to water touching cut tissue or containers left unwashed. Lift pieces so only roots soak, trim decayed parts, and reset in clean vessels. Add airflow, avoid crowding, and keep temperatures moderate. If odor persists, compost the piece and start anew rather than risking disappointment on your counter.

Leggy Growth and Pale Leaves

Thin, elongated stems signal underpowered light or too much heat. Move jars closer to brightness, add a small grow lamp on a timer, and rotate regularly. Strength improves within a week, color intensifies, and flavor follows. Resist overfeeding during recovery, focusing first on light quality and consistent hydration for calm, steady progress.

Harvest, Kitchen Joy, and Smart Storage

Regrown greens taste brightest when cut thoughtfully and used promptly. Strategic harvesting keeps plants productive for weeks, and simple storage tricks protect texture. By pairing timing with recipes you love, you will transform modest countertop harvests into satisfying meals, shrinking waste while celebrating freshness, color, and the satisfying snap of crisp stems.

Cut-and-Come-Again Techniques

Harvest no more than one third at a time, slicing above growth nodes so plants rebound quickly. Focus on outer leaves first, then rotate across jars to balance regrowth. This method keeps flavors lively, reduces bitterness, and turns a small station into a steady source of garnishes, sandwich crunch, and noodle toppings.

Flavor Boosters in Everyday Meals

Sprinkle chopped greens over omelets, sear them briefly with mushrooms, or blend into a garlicky yogurt sauce. Stir celery leaves into tuna salad, whirl carrot tops with nuts for pesto, and float scallion ribbons on soups, multiplying brightness while honoring the resourcefulness that helped each leaf return to your table.

Storing Greens Without Waste

Wrap washed leaves in a barely damp towel inside a container, then refrigerate. For scallions, stand bunches upright in a jar with an inch of water, covered loosely. Open the container daily for a breath of air, and use older portions first, keeping texture vivid and avoidable waste near zero.

Share, Learn, and Keep the Habit Going

Momentum thrives when stories travel. Post a snapshot of your windowsill lineup, swap cuttings with neighbors, and compare results across seasons. Ask questions, record experiments, and invite challenges. Subscribe for weekly ideas, comment with your victories and flops, and encourage newcomers, building a supportive circle that multiplies growth, flavor, and confidence.
Puvulovurokelepola
Privacy Overview

This website uses cookies so that we can provide you with the best user experience possible. Cookie information is stored in your browser and performs functions such as recognising you when you return to our website and helping our team to understand which sections of the website you find most interesting and useful.