From Scraps to Sprouts: Grow a Kitchen Garden

Today we dive into regrowing vegetables from grocery leftovers, turning trimmed roots, lettuce bases, onion ends, and celery stumps into fresh harvests with a simple, step-by-step approach. You will learn how to start in water, move to soil, troubleshoot common hiccups, and enjoy repeated cuttings. Expect a friendly process, realistic timelines, and budget-friendly tools you already own, so your windowsill becomes a bright, delicious source of daily greens and renewed confidence.

Set Up a Windowsill Lab

Before the first sprout appears, a little preparation makes everything easier. Clear a sunny space, gather jars or recycled containers, rinse scissors with hot water, and keep a small notebook. You will thank yourself later when you can compare growth rates, water schedules, and light conditions, discovering which corner of your home encourages the crispest leaves and strongest roots without complicated equipment or expensive gadgets.

Leafy Comebacks That Love Water

Some of the most satisfying projects start in plain water. Green onions rocket back in days, romaine lettuce forms sweet new hearts, and celery crowns push tender stalks with patience. Change water daily, trim ragged edges, and keep the waterline just touching the base. This careful balance lets roots breathe while stems stay hydrated, creating conditions where small victories appear quickly and motivation remains high throughout your learning journey.

Green Onions in a Glass: Daily Routine

Slice the white ends with roots intact and stand them upright in a narrow glass. Cover roots with water but keep the cut surfaces above. Place in bright light and change water every day. Within forty-eight hours, emerald shoots leap forward, often doubling in height by the weekend. Snip what you need with clean scissors, leave the roots to regrow, and enjoy reliable, repeating harvests that taste wonderfully vivid and bright.

Crisp Lettuce and Romaine

Trim the base cleanly, set it in a shallow dish with just a little water touching the bottom, and position in bright, indirect light. New leaves typically emerge from the center within a few days. Keep water fresh, mist gently if the air is dry, and rotate the dish for even growth. For stronger, longer-lasting harvests, transplant to soil after roots appear, encouraging broader leaves and better texture for salads and wraps.

Root and Tuber Revival

Beyond leafy water starts, tubers and bulbs offer satisfying results. Potatoes and sweet potatoes sprout from eyes, while ginger and turmeric push aromatic shoots from knobby sections. Garlic and shallots reawaken with proper warmth and airflow. Using organic scraps often reduces sprout inhibitors, improving success. Pre-sprouting in bright light encourages sturdy shoots, and cutting larger pieces allows multiple starts when each chunk has at least one healthy, promising eye or bud.

Potatoes and Sweet Potatoes on the Sill

Encourage sprouts by setting tubers in a bright, cool spot until small, firm shoots appear, a process gardeners call chitting. Cut larger potatoes into chunks with one or two eyes each, then let cut surfaces dry and callus for a day. Plant into a deep container with loose, well-draining mix. Hill soil gently around new growth. Sweet potatoes prefer warmth and slightly moist conditions, rewarding patience with vigorous vines and tender, edible leaves.

Ginger and Turmeric Rhizomes

Select plump, unshriveled rhizomes with visible buds called eyes. Soak for a few hours to rehydrate, then nestle them horizontally in a wide pot, barely covered with mix. Provide consistent warmth and filtered light. Sprouts may take weeks, but once they awaken, growth accelerates. Keep soil evenly moist, never soggy, and feed lightly. Harvest a portion of the rhizome by lifting a side, then re-cover to continue the plant’s slow, generous production.

Garlic, Shallots, and Leeks

Cloves of garlic and shallots respond quickly when set in moist soil with the pointed end up. Keep containers shallow, provide bright light, and you’ll soon harvest flavorful green tops for garnishes and stir-fries. For leeks, stand the trimmed white stems with roots in water to encourage fresh growth, then transplant to soil. Maintain good airflow to prevent mold, and snip greens regularly, letting the base keep sending new, fragrant leaves upward.

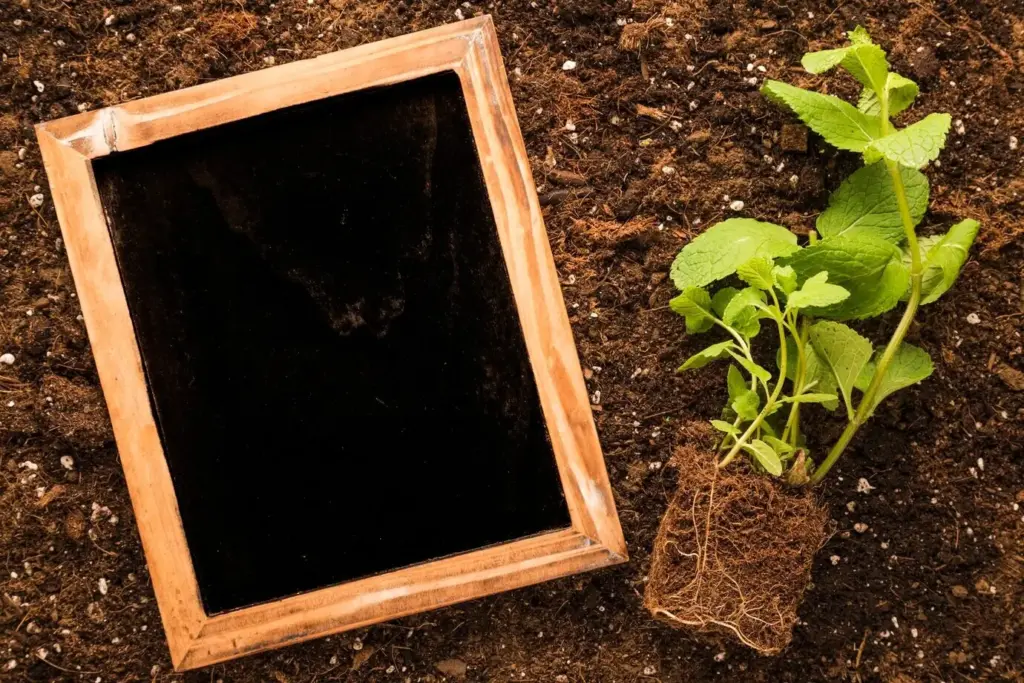
From Water to Soil: The Smooth Transition

Transplanting water-started greens into soil strengthens roots, improves texture, and extends harvests. Wait for small white roots, then move carefully to a well-draining mix in containers with holes. Water thoroughly once, then allow the top layer to dry slightly between sessions. Feed gently to avoid burn. This step converts fragile early growth into robust plants that produce more leaves, resist stress, and keep your kitchen stocked with crisp, flavorful trimmings.

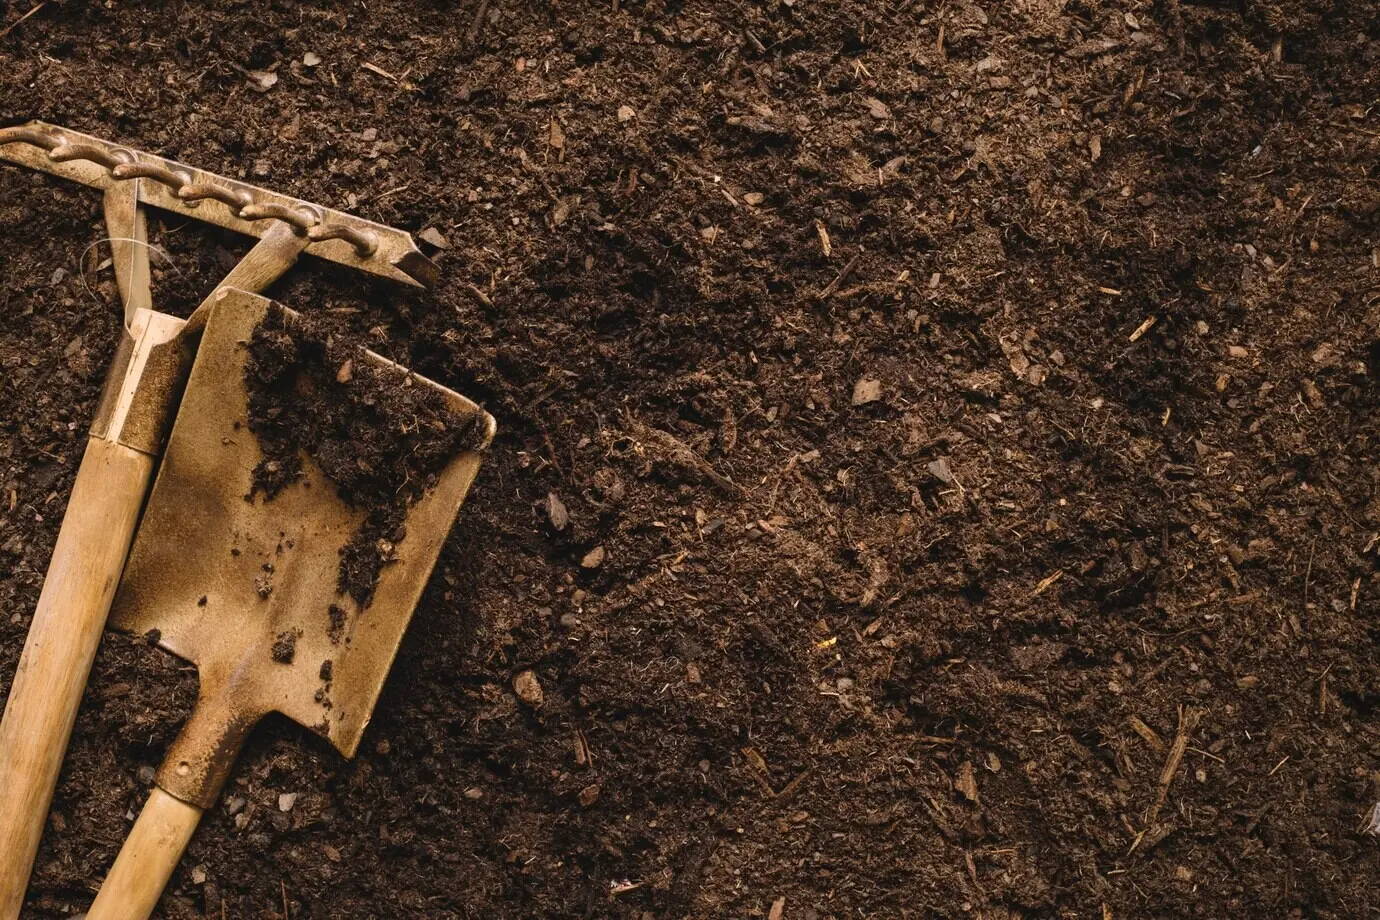
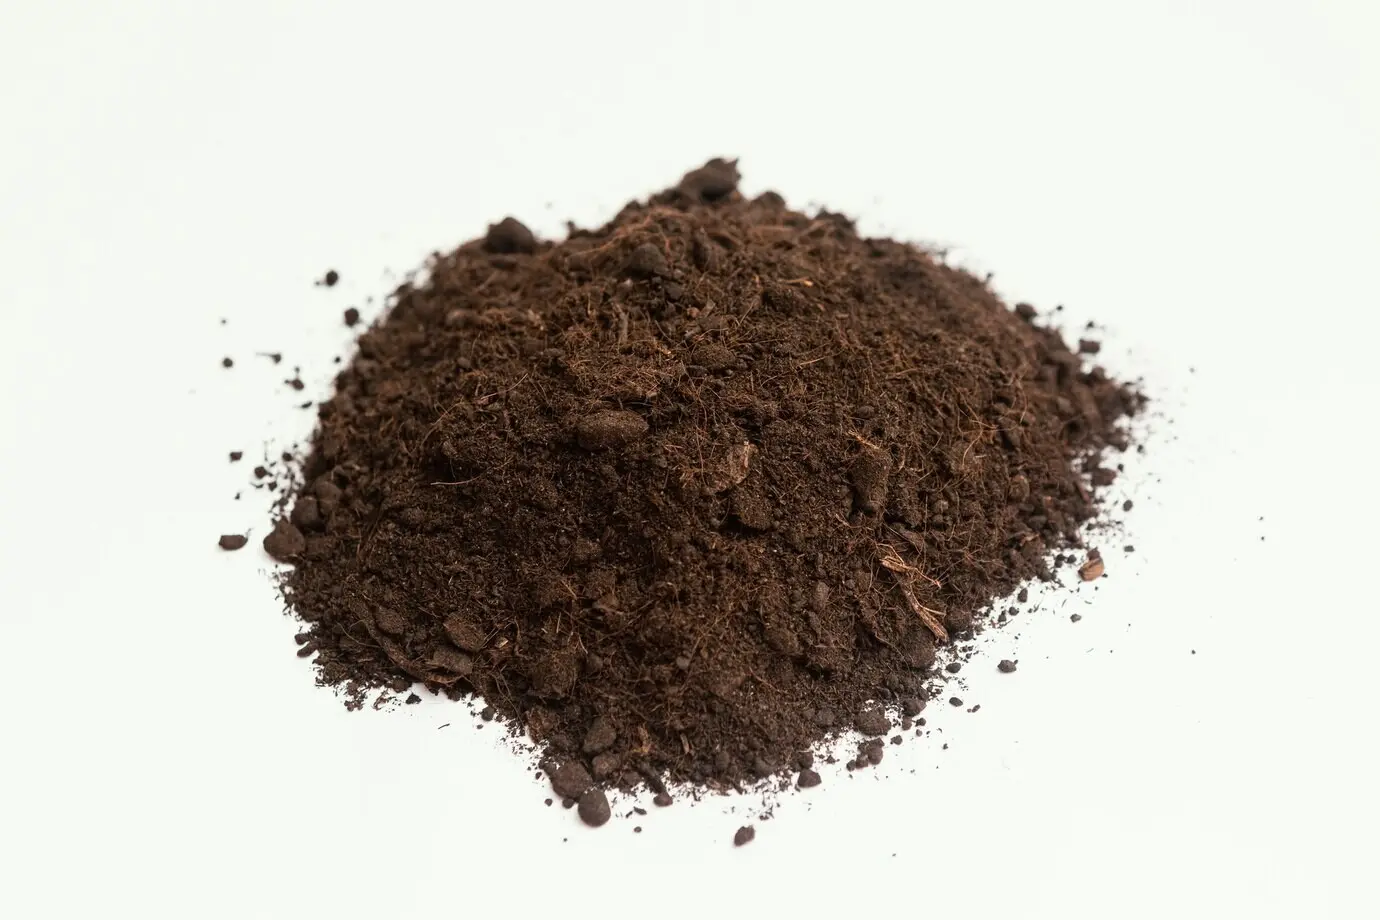
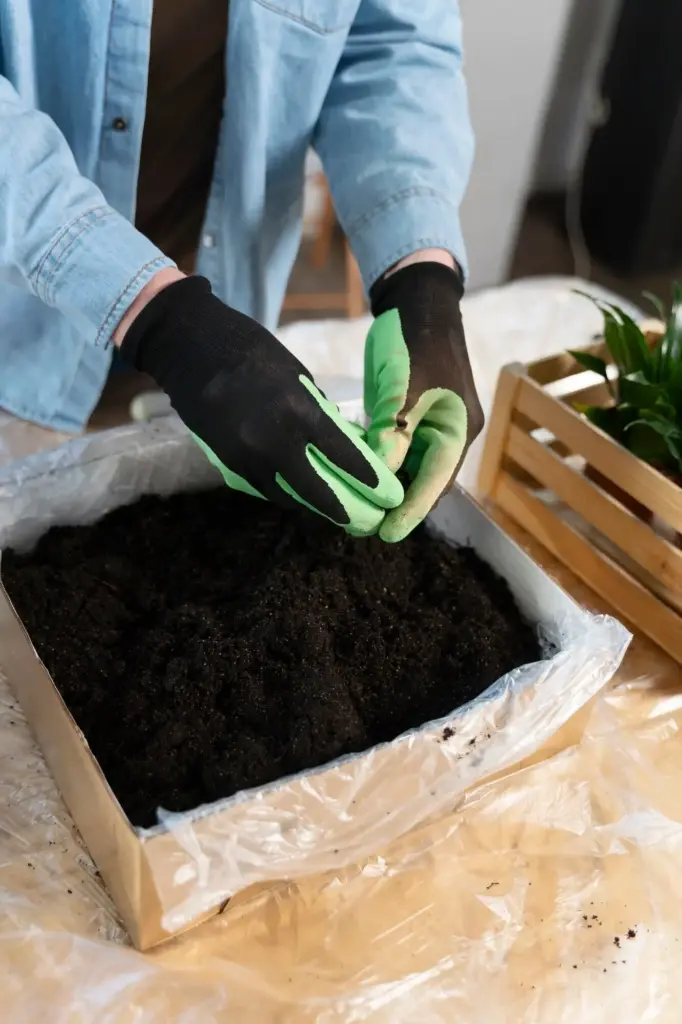
Potting Mix and Containers That Work

Choose a light, airy mix that drains freely, such as a blend of compost, coconut coir, and perlite. Containers should have generous drainage holes to prevent soggy roots. Shallow, wide pots suit leafy clusters like lettuce or celery bases, while deeper vessels help onions and leeks. Add a saucer to catch runoff, but never let pots sit in water. Healthy, oxygenated roots transform tentative starts into resilient, productive, easy-care windowsill plants.

Feeding Gently, Growing Strong

After transplanting, let plants settle for several days before feeding. A diluted, balanced liquid fertilizer supports steady growth without overwhelming sensitive tissues. Apply lightly every week or two and flush with water occasionally to prevent salt buildup. Observe leaf color and vigor rather than chasing calendars. If growth slows, adjust light first, then nutrients. This thoughtful pacing strengthens plants while keeping flavors clean, crisp, and pleasantly concentrated for everyday cooking and snacking.

Transplant Day Checklist

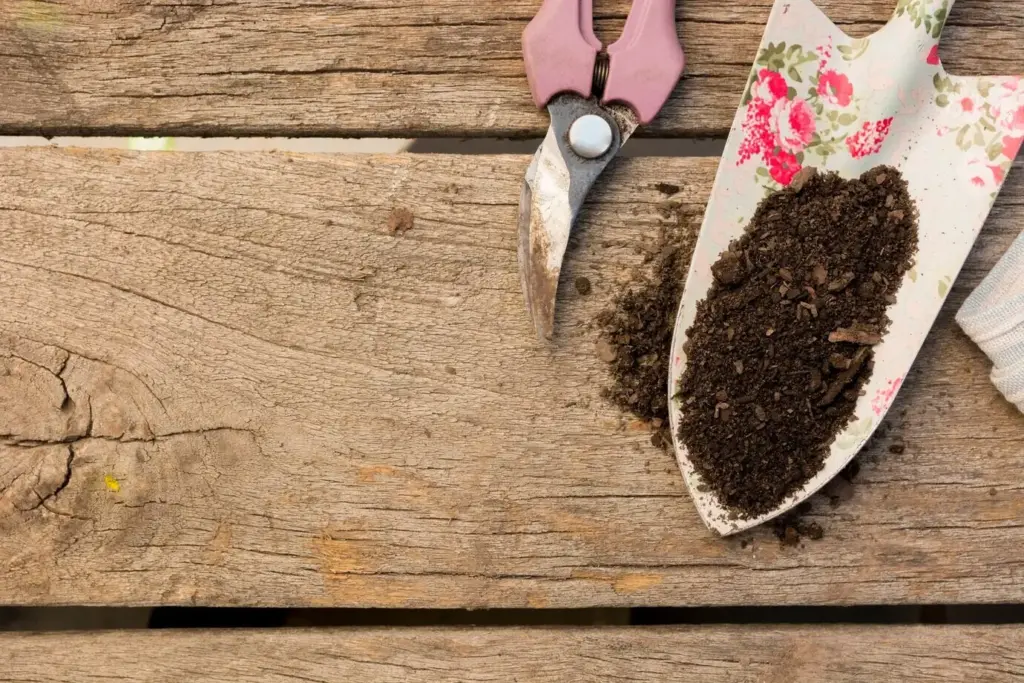
Before moving day, sanitize scissors, rinse containers, and prepare moistened mix. Make holes wide enough to accommodate fragile roots without bending. Firm soil gently around bases, water once to settle, and place pots in bright, indirect light for recovery. Hold off on major harvests until you see renewed growth. Keep notes on timing, conditions, and any stress signs. This calm, systematic approach turns delicate starts into vigorous, dependable kitchen companions.

Troubleshooting with Calm, Clean Hands

Harvest, Flavor, and Sharing the Joy

The payoff arrives in crisp cuttings and fragrant leaves that elevate everything from eggs to noodle bowls. Harvest with clean scissors, taking the outer growth and leaving centers to continue. Keep a small jar near the cutting board so trimmings can begin another cycle. Tell friends about your experiments, share photos, and invite questions. Your experience helps others start, and every shared success builds a more delicious, less wasteful kitchen culture.
Puvulovurokelepola
Privacy Overview

This website uses cookies so that we can provide you with the best user experience possible. Cookie information is stored in your browser and performs functions such as recognising you when you return to our website and helping our team to understand which sections of the website you find most interesting and useful.