From Kitchen Scraps to Garden Abundance
Today we’re diving into saving seeds during everyday cooking, transforming what you usually discard into next season’s peppers, tomatoes, and squash. You’ll learn simple, safe, and reliable methods to collect, clean, dry, and store seeds right from your cutting board, then start them with confidence and joy. Expect practical troubleshooting, engaging stories, and clear steps that turn dinner prep into a flourishing, budget‑friendly garden experiment you can repeat all year.
Seed Viability and True-to-Type Basics
Before you save anything, it helps to understand which seeds are mature, how long they stay viable, and whether they’ll grow plants similar to the fruit you enjoyed. Tomatoes self‑pollinate most of the time, peppers can cross occasionally, and squash readily mixes varieties. Knowing the differences between heirlooms and hybrids prevents disappointment, helps you label accurately, and keeps expectations realistic without limiting the adventure or the joy of discovery.
Spotting Mature, Worthwhile Seeds While You Cook
Mature tomato seeds come from fully ripe fruit with deep color and rich aroma; peppers should be at peak ripeness, especially red or fully colored pods; squash seeds are best from fully mature fruits with hardened rinds. Slice slowly, notice seed color and plumpness, and skip pale, slim, or translucent seeds. A few extra seconds of attention during prep dramatically improves germination later and saves frustration when you finally sow.
Heirlooms, Hybrids, and What to Expect
Heirlooms usually breed true, rewarding you with recognizable flavor and form. Hybrids may produce surprises—still edible and often delightful, but not always identical to the parent. If predictability matters, prioritize open‑pollinated or clearly labeled heirlooms. When experimenting with hybrids, treat it like a cheerful mystery: keep notes, photograph leaves and fruit, and save seed only from standouts. This spirit of exploration turns every season into a learning journey.
Cross‑Pollination Realities for Peppers, Tomatoes, and Squash
Tomatoes typically self‑pollinate, yet bees can still cause occasional crosses. Peppers cross more readily, especially when different varieties bloom closely together. Squash cross frequently within the same species, creating unexpected results. If you crave consistency, separate varieties, stagger bloom times, or hand‑pollinate and bag blossoms. If you embrace surprise, simply label carefully, plant a few extras, and select future seed from your most flavorful, vigorous, and resilient performers.
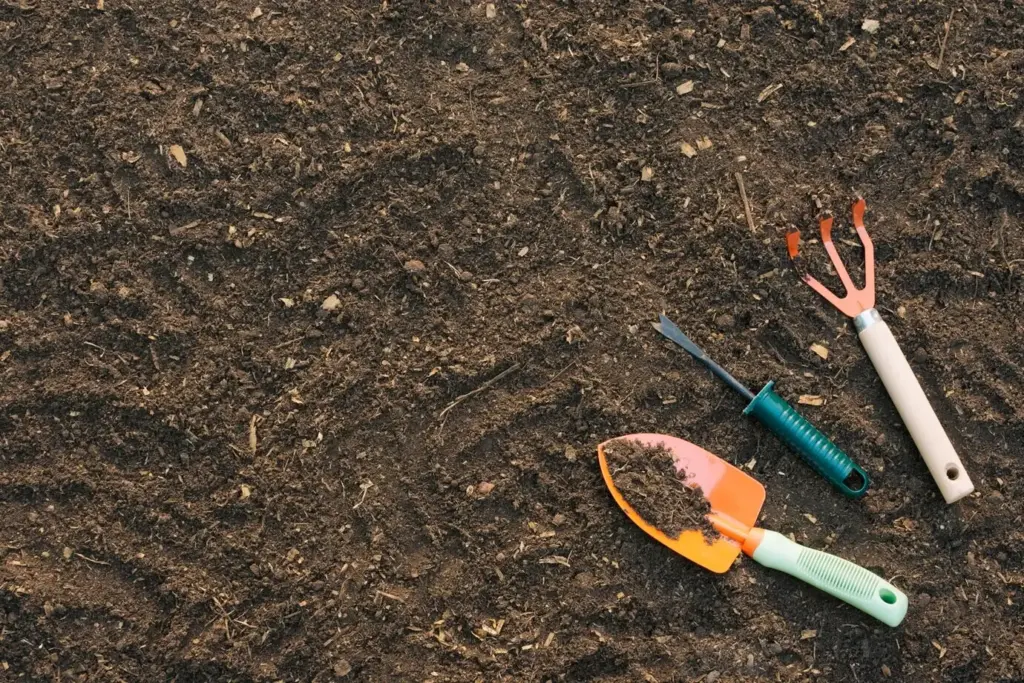
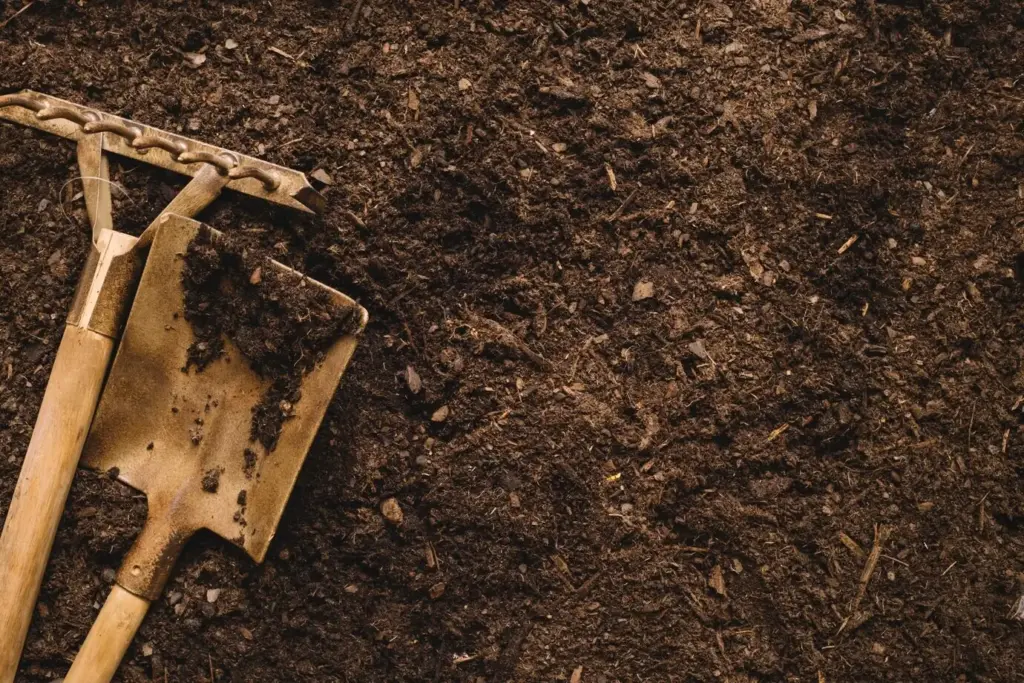
Gentle Harvesting on the Cutting Board
Clean Hands, Cool Tools, Calm Pace
Wash hands, minimize oils, and use cool water to avoid thermal shock. Choose a gentle spoon over serrated blades for seed removal, giving embryos a safe exit. Resist rushing—pausing to let juice drip into a strainer reduces mess and saves viable seed. Treat seeds like living tissue, because they are; this respectful, unhurried approach during busy meal prep sets them up for vigorous germination weeks or months later.
Keep Varieties Labeled From the First Moment
Confusion starts at the counter, so labeling must start there too. Use sticky notes on bowls, painter’s tape on strainers, or waterproof tags. Include variety name, color stage, date, and any flavor notes. If your phone is nearby, snap quick photos of the fruit beside its label. These tiny records become invaluable when sowing, trading, or writing about your results, and they prevent the classic mystery mix‑up that frustrates new savers.
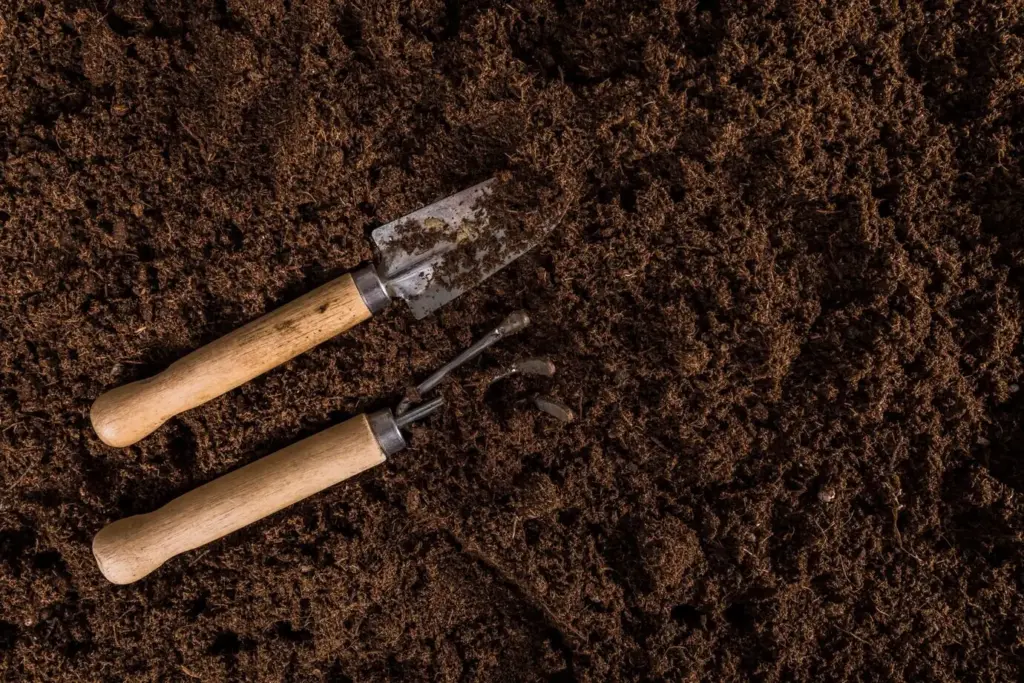
Food Prep Flow That Protects Future Seedlings
Set a small seed station: a strainer, a jar, paper towels, and labels. Move seeds off the main cutting board before spices, fats, or heat enter the scene. Keep a separate towel for drying seeds, not wiping dishes. With this micro‑workflow, you’ll harvest seeds without interrupting dinner, avoiding contamination and accidental cooking. After plating, return to the seeds calmly, finish rinsing, and spread them out while flavors from the meal still inspire notes.
Tomato Fermentation That Removes the Slick Gel
Scoop seeds and pulp into a clean jar, add just enough water to swirl, then cover loosely to release gases. Stir daily for two to three days until a light tangy scent appears and viable seeds sink. Rinse through a fine strainer, discarding floating debris. Spread seeds thinly on a labeled plate or coffee filter to dry. This simple step reduces pathogens, prevents clumping, and gives you beautifully clean seed that stores reliably.
Pepper Seed Rinsing Without Losing the Hottest Keepers
Tap pepper seeds free over a plate, then pour them into a mesh strainer. Rinse under cool, gentle water, swirling to detach pith without pushing seeds through. Pat the underside of the strainer with a towel to remove excess moisture. Spread seeds on parchment to dry, away from fans that send them flying. Label heat level and flavor notes while memories are fresh, because your future self will thank you during winter planning.
Scooping, Rinsing, and Selecting Squash Seeds for Vigor
Choose fully mature squash with hard skins and developed cavities. Scoop seeds and strings, then massage in water to release sugars that cause mold. Rinse repeatedly until water runs clear. Discard flat or damaged seeds and keep plump, firm ones. For winter squash, cure parent fruits before saving to ensure maturity. Dry seeds widely spaced, turning daily for even airflow. This patience rewards you with sturdy seedlings and more dependable harvests next season.

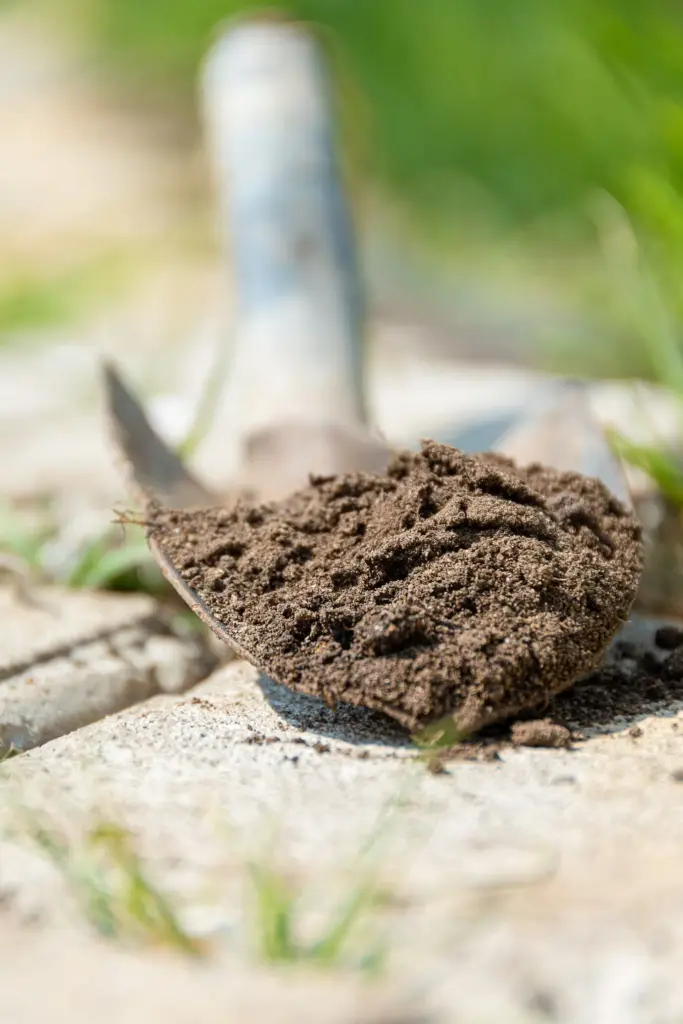
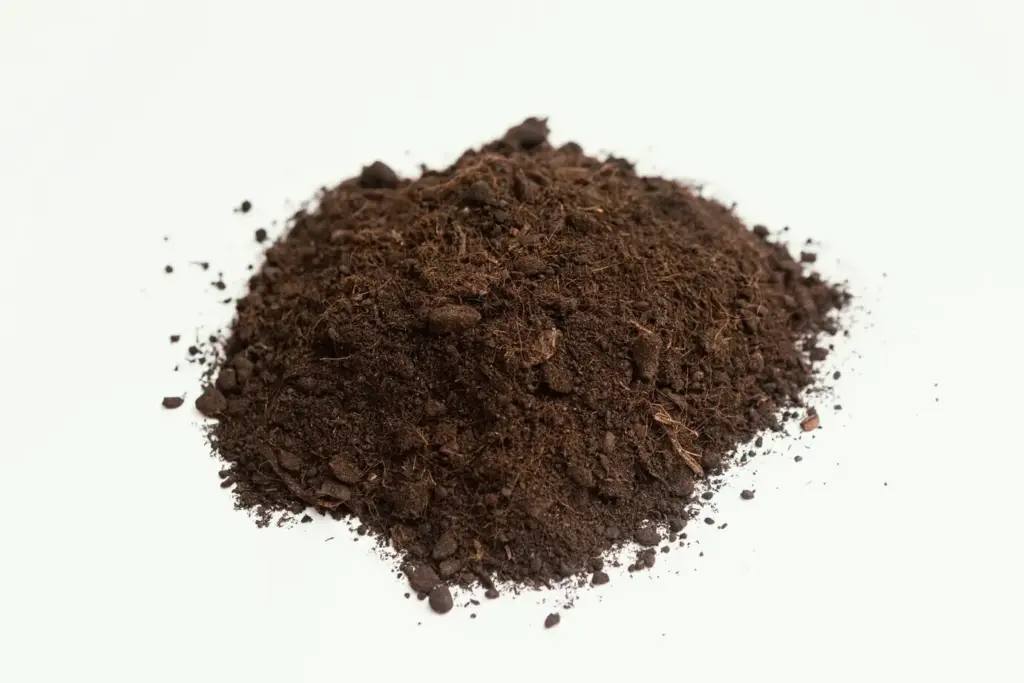
Drying, Curing, and Safe Storage
Drying should be slow, even, and gentle. Spread seeds thinly on non‑stick surfaces in a warm, shaded spot with good airflow. Avoid ovens and direct sun that damage embryos. When fully dry, seeds snap or shatter rather than bend. Store in paper envelopes inside a sealed jar with desiccant. Label completely with variety, date, and notes. Proper dryness protects flavor memories in seed form, turning today’s dinner into tomorrow’s thriving garden.
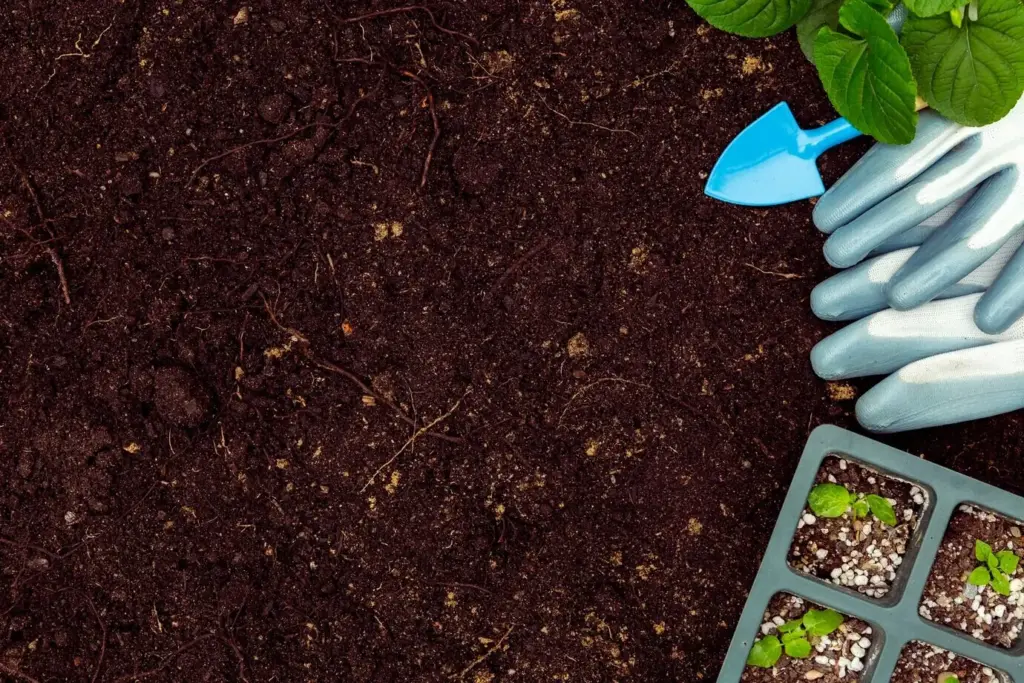
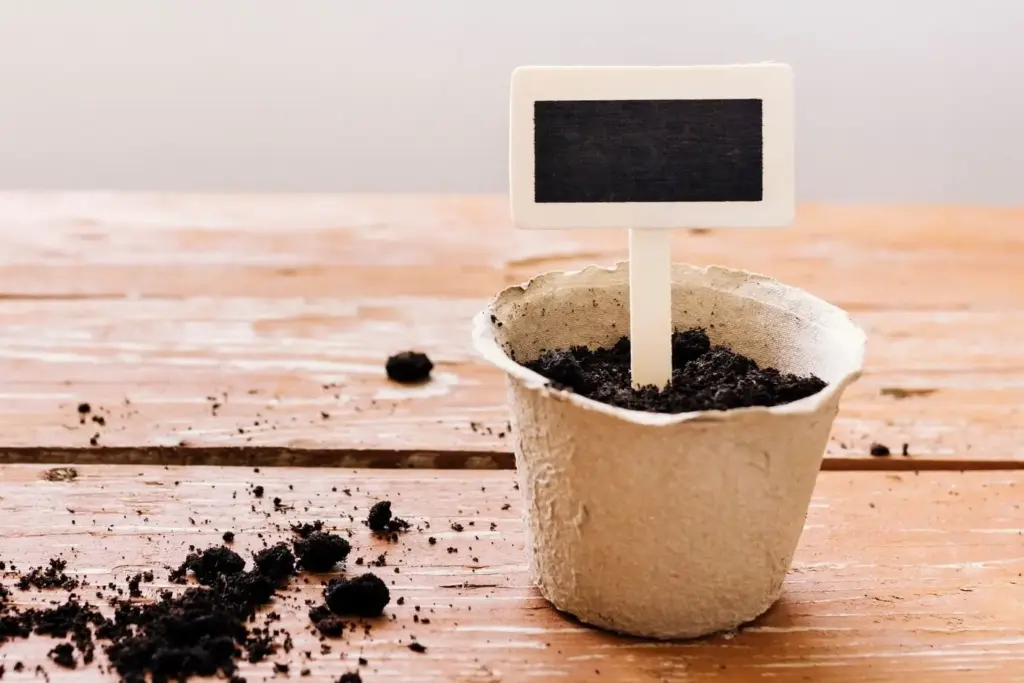
Germination and Seed Starting Success
Before filling trays, run quick tests, then tailor conditions to each crop. Peppers prefer warmth to wake up, tomatoes spring readily to life, and squash appreciates space and gentle handling. Focus on sterile, peat‑free mixes, bottom watering, and bright light. Track days to sprout, monitor moisture with a careful hand, and adjust heat accordingly. These simple choices transform kitchen leftovers into sturdy seedlings that handle transplanting like champions when the soil finally warms.
When Fermentation Gets Funky: Mold, Smell, and Safety
A thin white film is common and manageable with daily stirring and prompt rinsing after two to three days. Thick, fuzzy growth suggests too long a ferment or warm, stagnant conditions; start fresh with cleaner jars and less pulp. Favor loose covers that vent gases. Trust your senses: sour is normal, rancid is not. When in doubt, discard and retry. Seeds are plentiful, and careful repetition teaches the exact rhythm your kitchen prefers.
Why Grocery Produce Sometimes Works—and Sometimes Doesn’t
Store produce may be harvested immature, reducing seed viability, or come from hybrids grown near many varieties. Still, many gardeners report successes, especially with fully ripe tomatoes and peppers. Treat store finds as experiments: test germination, grow a few, and observe traits. If results shine, save from those plants grown in your garden. This approach turns uncertain origins into a stepping stone rather than a roadblock, expanding your possibilities with curiosity.
Understanding Off‑Types from Hybrids Without Discouragement
When saved seed yields a surprise, see it as discovery rather than failure. Hybrid offspring can segregate traits, revealing flavors, colors, or growth habits you did not expect. Evaluate plants honestly: keep vigorous, tasty winners and compost weak ones. Over seasons, deliberate selection can stabilize desirable traits into your own reliable line. With careful records and patience, today’s unexpected harvest can become tomorrow’s signature variety uniquely suited to your conditions.
Troubleshooting, Myths, and Real‑World Fixes
Seed saving invites questions and occasional hiccups. Mold on tomato ferments usually signals insufficient stirring or too much pulp; off‑types often trace to hybrid parents or cross‑pollination; poor germination can stem from immaturity or incomplete drying. Grocery produce can work but carries unknown histories. Approach problems as friendly puzzles. Adjust methods, keep notes, and try again. Each small correction strengthens your instincts, leading to clearer choices and more reliable success with every season.
Share, Record, and Grow Together
Seed saving flourishes in community. Share envelopes with neighbors, swap notes about germination quirks, and celebrate tasty successes. Build a simple journal with photos, dates, and flavor impressions that future you will treasure. Invite conversation by posting progress and asking questions. If our guides help, subscribe and reply with your stories. Together we transform overlooked kitchen moments into a living, generous pantry of plants, memories, and resilient skills worth passing forward.